
What and Why?
After installation of my home server setup, I wanted a way to know maximum data transfer speeds between my home server laptop, and other devices inside my home LAN and outside, from the internet as well.
Since I stream content on my TV using an Amazon Fire TV (Gen 3), and I have it connected only via Wi-Fi, it was important to know what speed I can expect between the home server and the Fire TV and if it would be enough to direct play 4K Blu-Ray Remuxes.
For similar reasons, wanted to get an idea if direct play could be possible/what bandwidth to choose for transcoding when streaming content via Plex/Jellyfin.

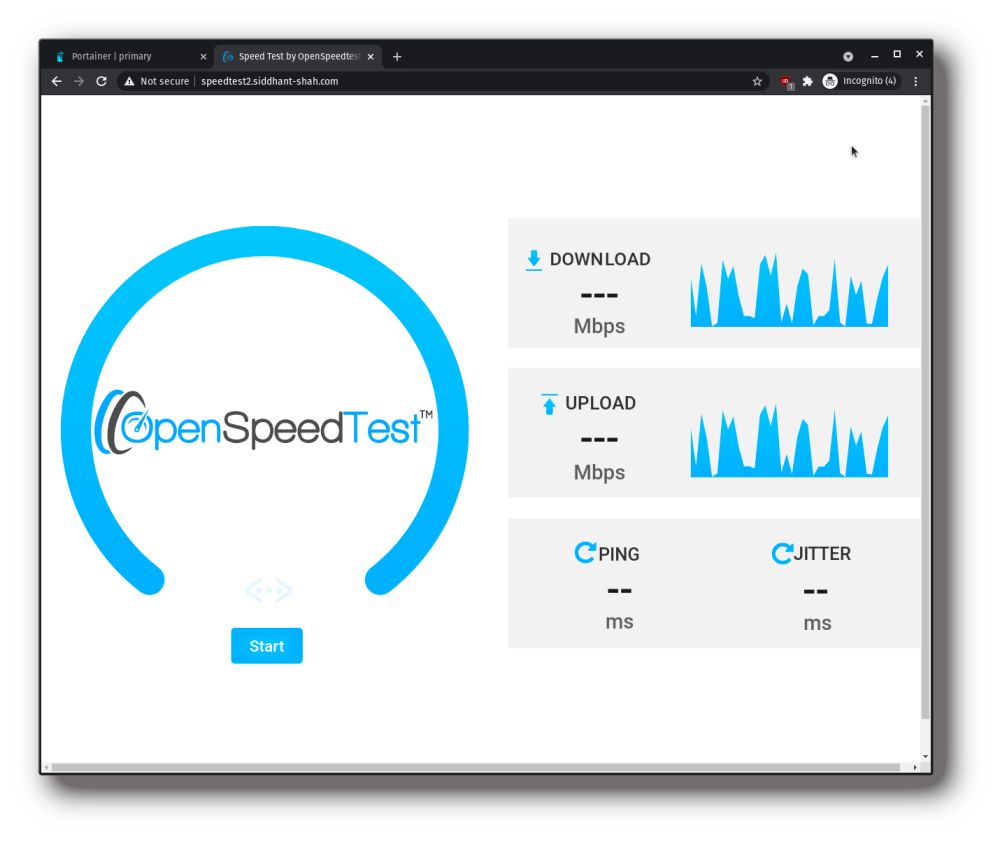
Hello, OpenSpeedTest!
A lot of self-hosted internet speed tests are available, and I did try LibreSpeed and others, but finally settled on OpenSpeedTest. It has been stable and quick to load for me since several months and has a nice UI.
Getting Started
Installing the docker image for OpenSpeedTest is fairly easy. Requirements are:
- System with Docker installed (I’m using Portainer in addition)
- Traefik for reverse proxy (with a network named
traefik_proxy) - Subdomain for exposing this container to the outside internet (with Cloudflare proxying)
- Optional subdomain for exposing to the internet without Cloudflare proxying.
- On Portainer, Select Containers → Add container, and use the Image from DockerHub as below:
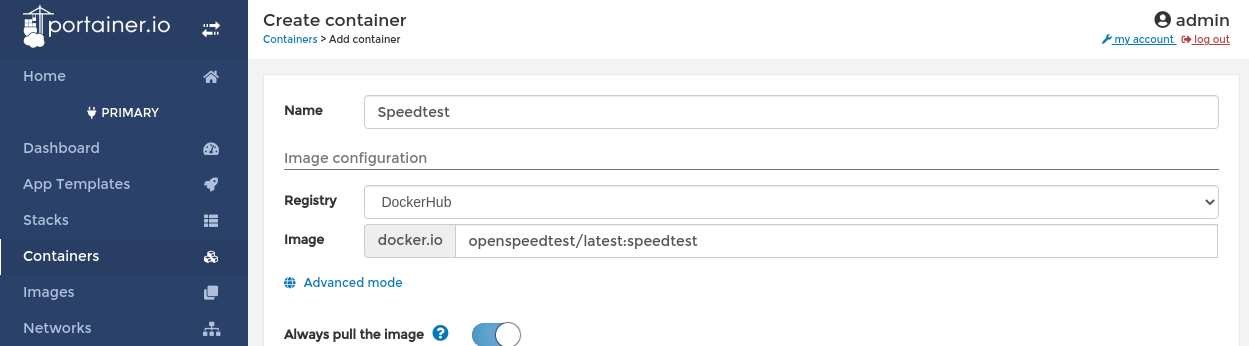
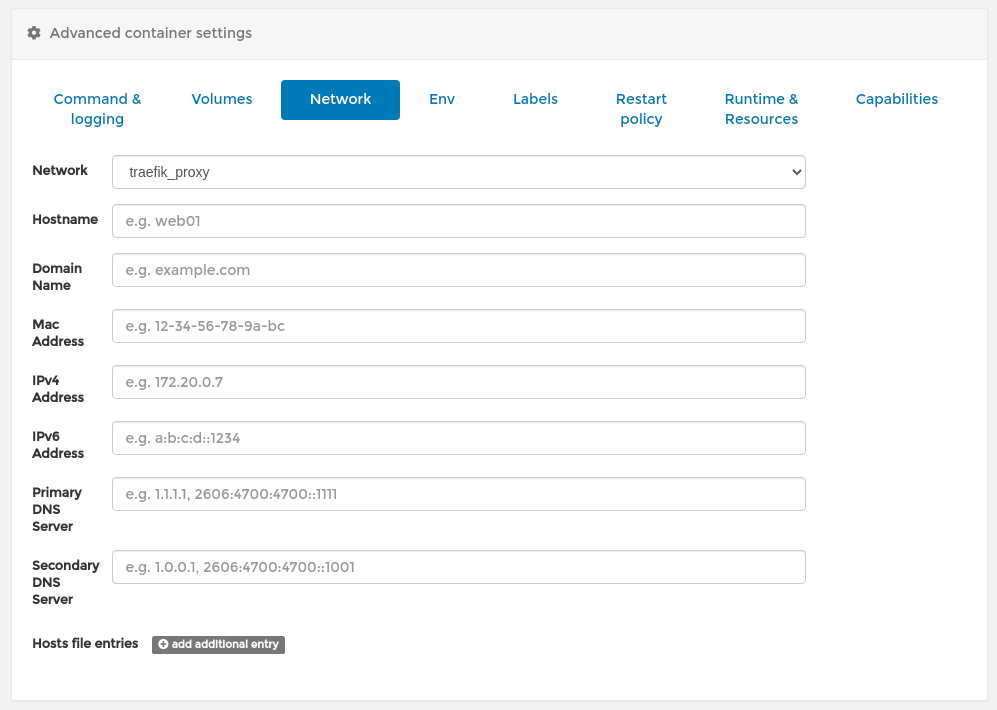
- Since we’re using Traefik. do not choose to expose any ports. In the Advanced container settings → Network tab, select the
Networkto your Traefik docker network,traefik_proxyin my case.
- Traefik settings:Under the Labels tab, enter the following:
traefik.enable: true
traefik.http.routers.speedtest.rule: Host(`speedtest.siddhant-shah.com`) || Host(`speedtest2.siddhant-shah.com`)
traefik.http.routers.speedtest.tls: true
The traefik.http.routers.speedtest.rule creates an HTTP router in traefik, and assigns it to the rule for (speedtest.siddhant-shah.com or speedtest2.siddhant-shah.com).
The two subdomains will hence redirect to the same router for our service, but I will set one domain to be proxied through Cloudflare, while the other won’t. This will be to compare speed from the home server in each case.

traefik.http.routers.speedtest.tls: true just enables HTTPS for the router.
- Cloudflare Settings:
Finally, open the Cloudflare console, and open DNS settings for your domain. As you can see in the screenshot below, the speedtest2 subdomain points to the OpenSpeedTest service without a proxy, while the speedtest subdomain will be proxied.

Also, since I’m using the Cloudflare origin server SSL certificate, only proxied DNS subdomains will have a valid Cloudflare SSL certificate.
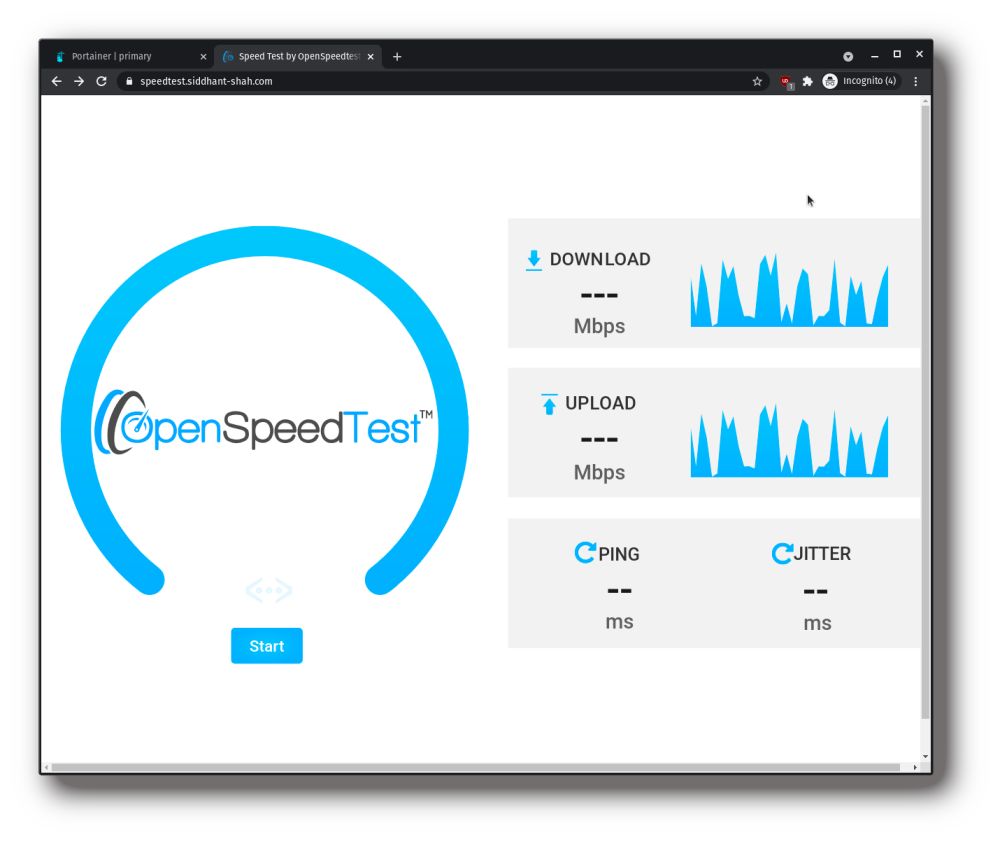
After setting the above, when you deploy the container, and start it, visit https://speedtest.siddhant-shah.com or https://speedtest2.siddhant-shah.com to find both versions of the same service running.
Securing Access Using BasicAuth
Congrats! You have a slick internet speed test application running on your home server.
But there’s a problem: It is open to the internet. Anyone who comes across the URL could use the speedtest service. That is not a problem if you have unmetered, unlimited data available to speedtest all day. However, if you do have limits on how much bandwidth you can spend drag racing your internet connection, it is a good idea to limit access to the service for yourself/other you choose.
For this, we will use _Middlewares _ in Traefik.
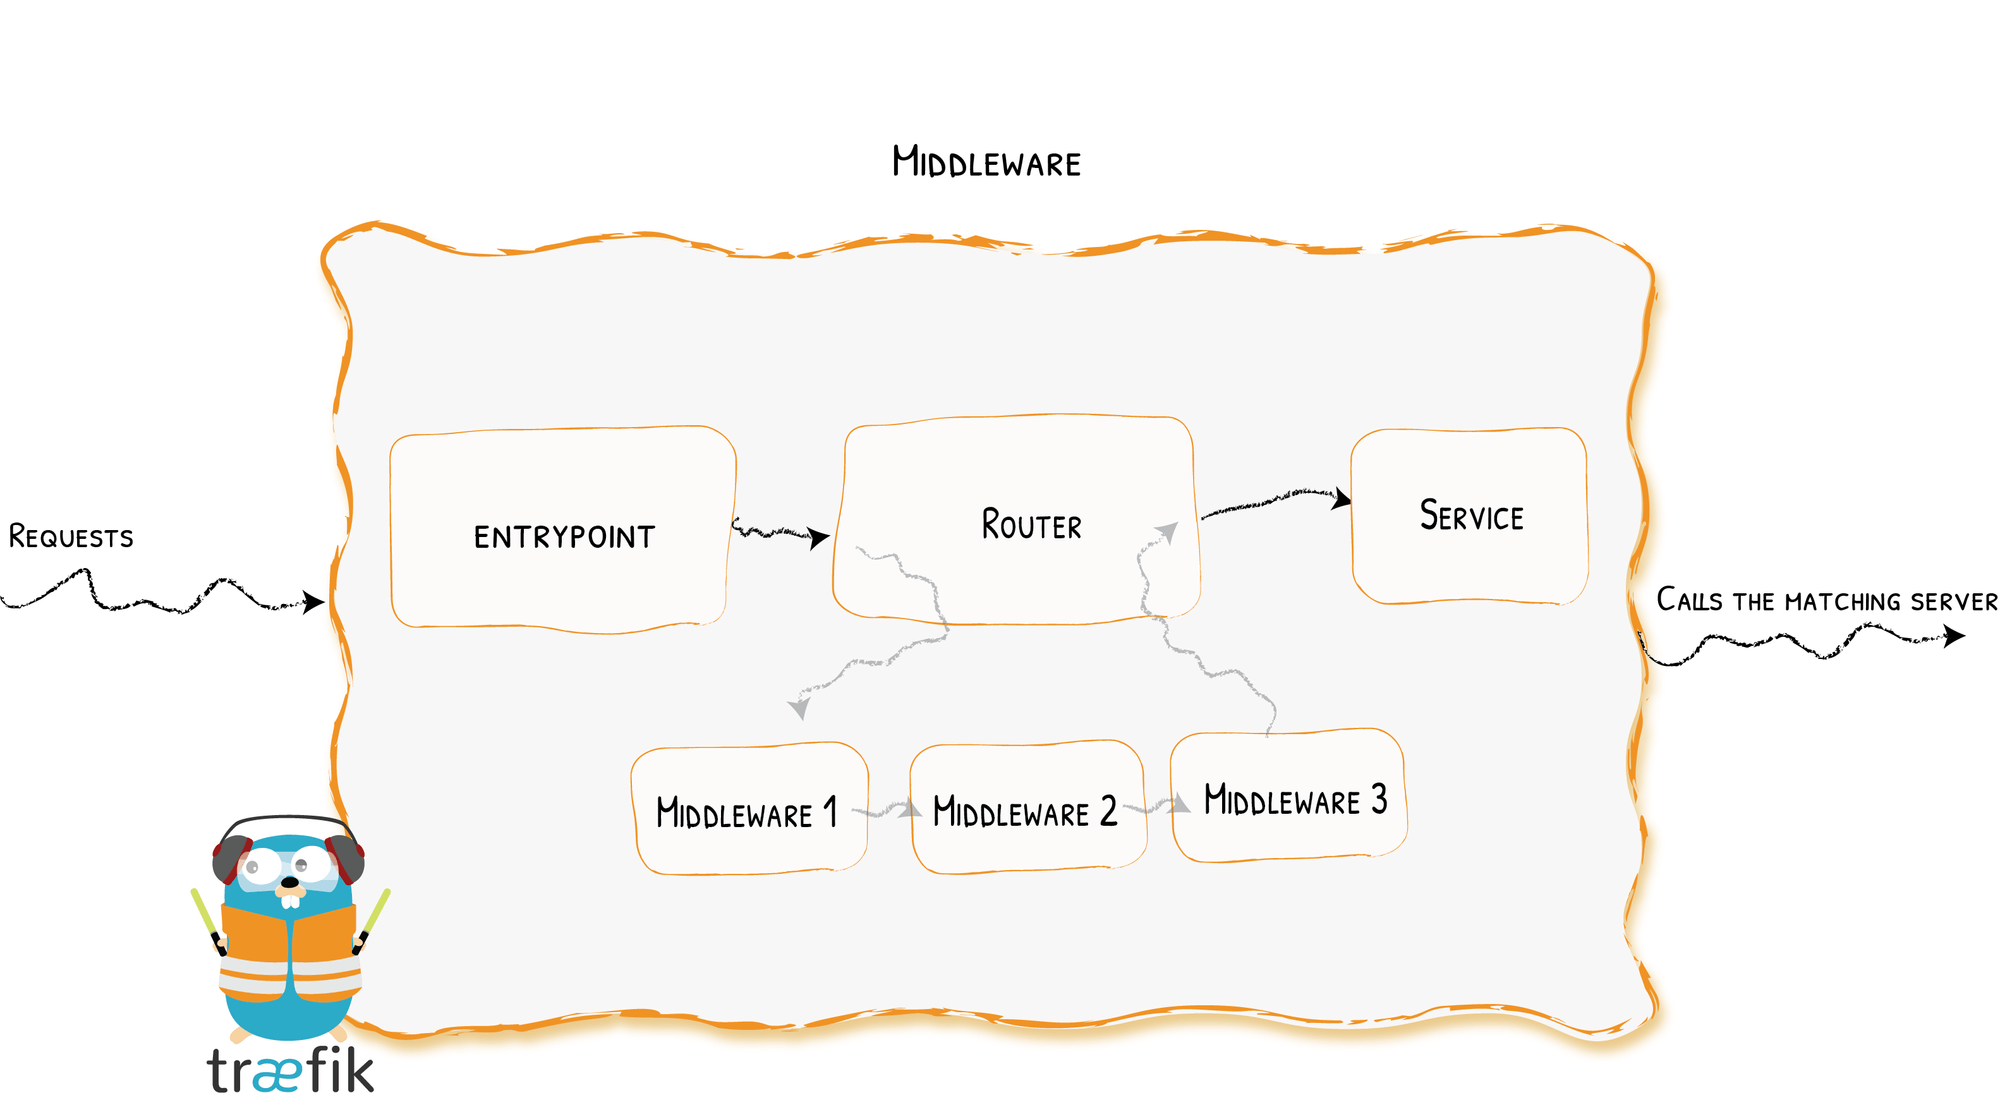
As can be seen from the illustration above, middleware is a step in the (self explanatory-) middle of the chain from Entrypoint to the Service.
There are a few middlewares available, each covering some function ranging from authentication, to rate limiting, modification of headers, etc.
We will be making use of the BasicAuth middleware, to provide a basic authentication functionality to the service.
Add something like so the Labels:
labels:
  - "traefik.http.middlewares.speedtest.basicauth.users=test:$$apr1$$H6uskkkW$$IgXLP6ewTrSuBkTrqE8wj/,test2:$$apr1$$d9hr9HBB$$4HxwgUir3HP4EsggP/QNo0"
It consists of a user:hashed-password pair, which describes the username and password pairs for users allowed access. Hashed password can be obtained using this online tool.

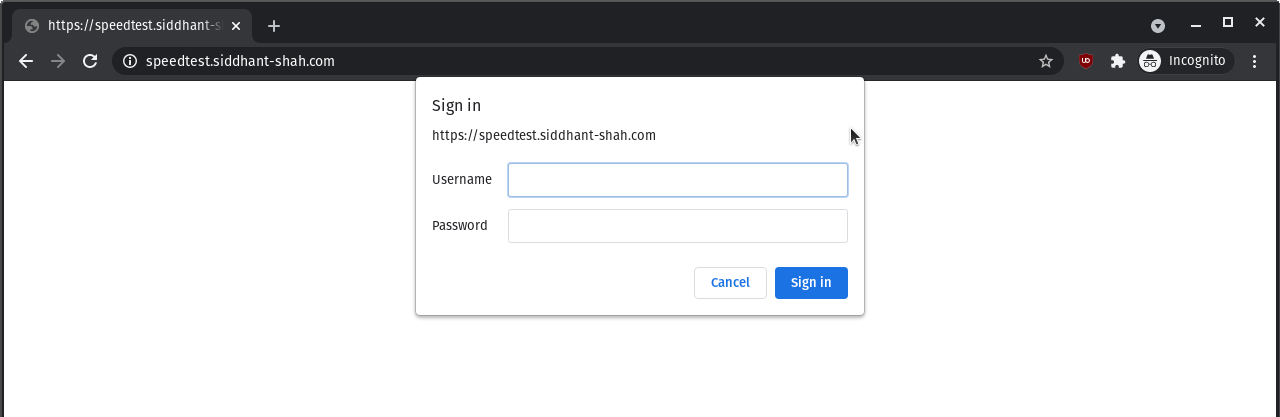
Just add the above to the Labels option of the container setting in Portainer, and you’re good to go!
With the middleware enabled and the container back on, we now have a Sign in dialog that pops up:
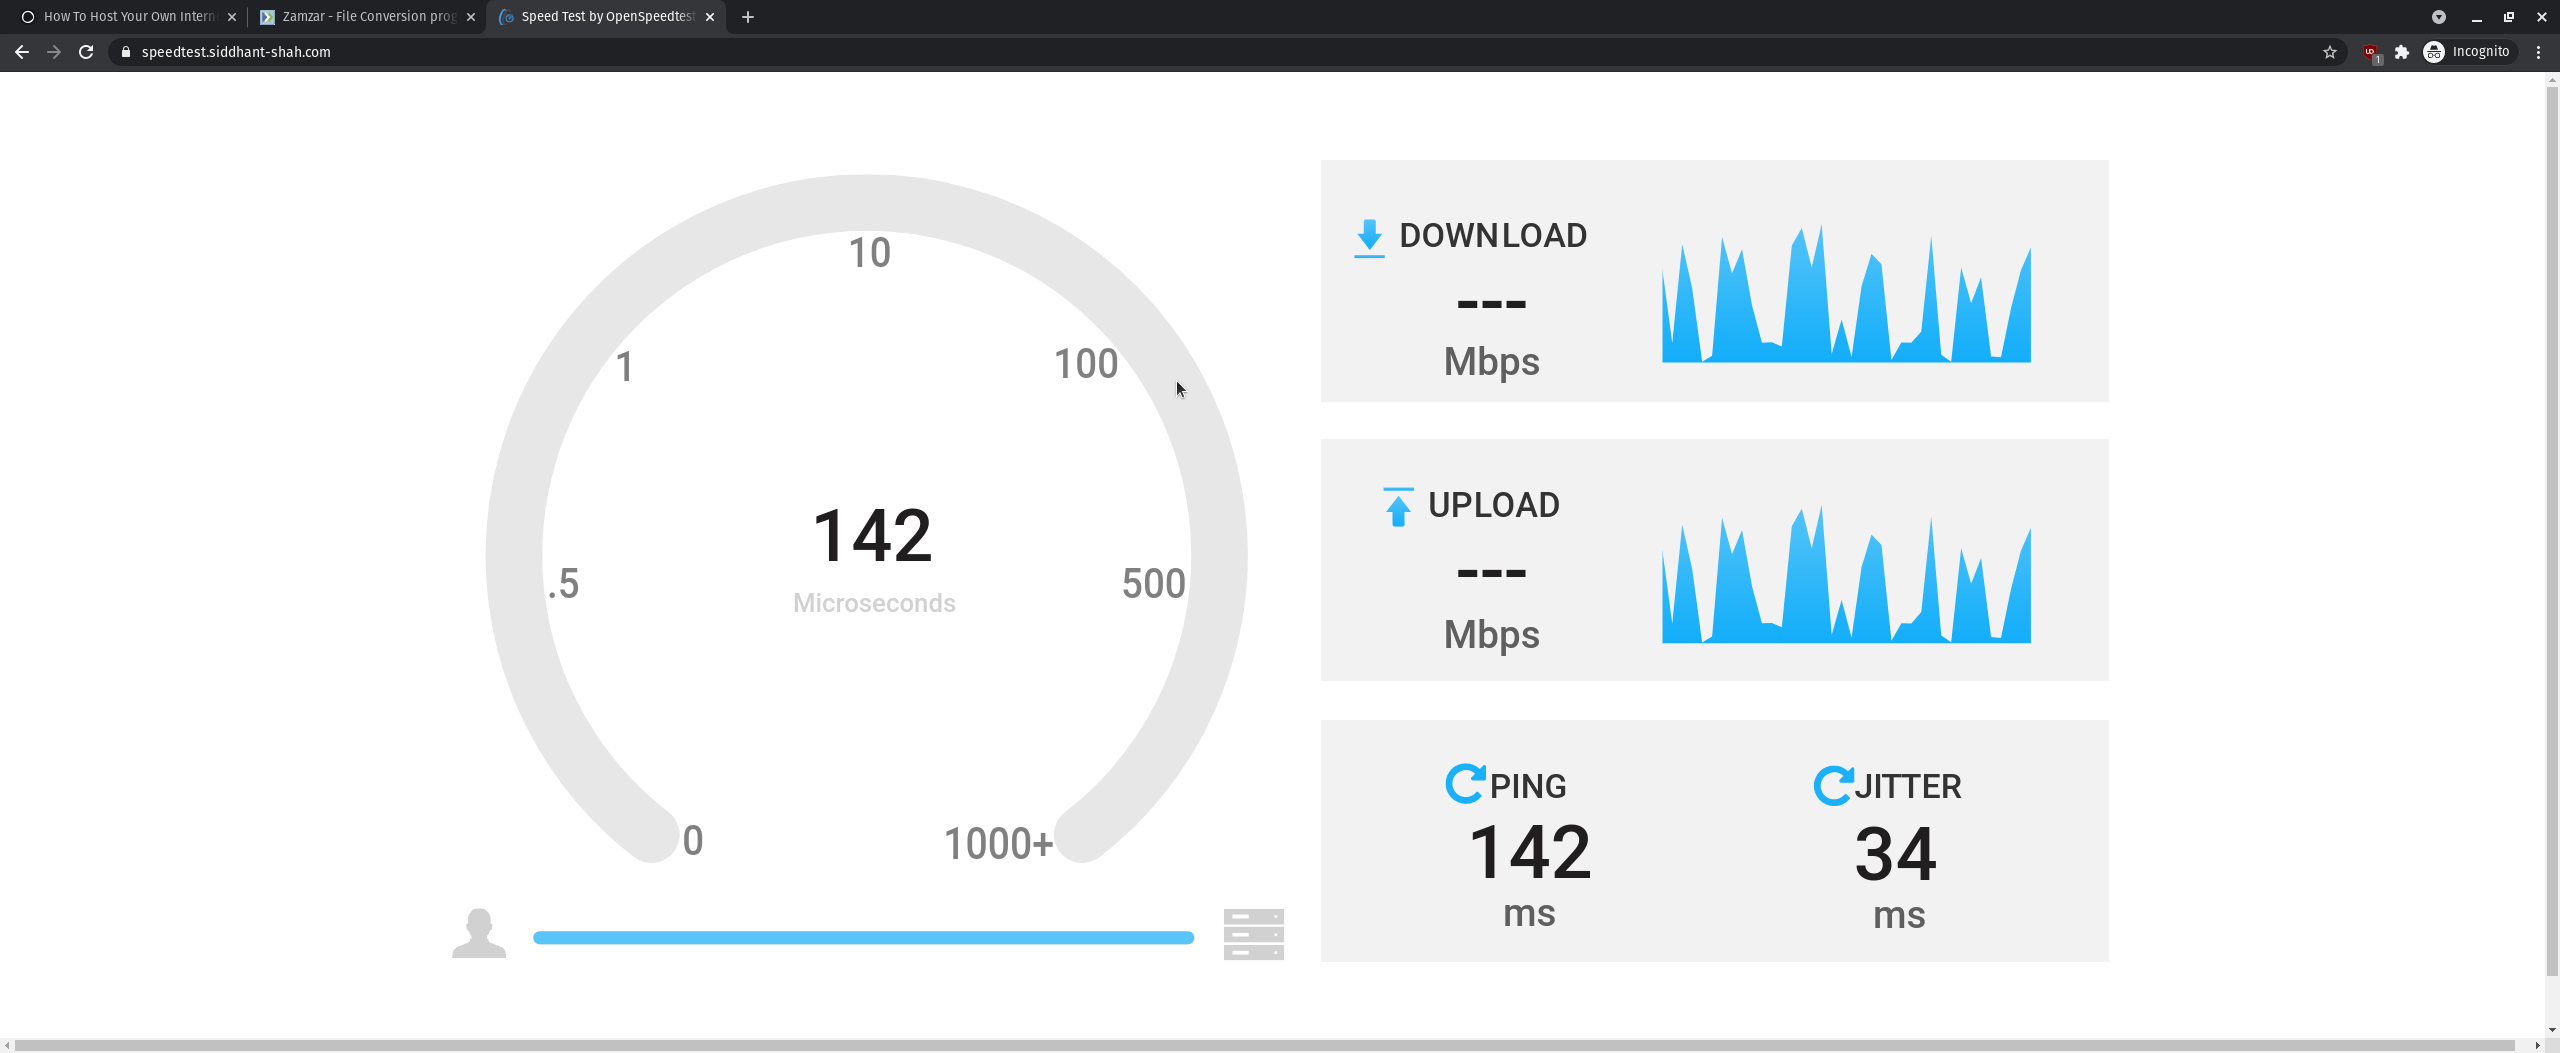
There you have it! Below is a screenshot from running the speedtest from my iPad over Wi-Fi across the room:
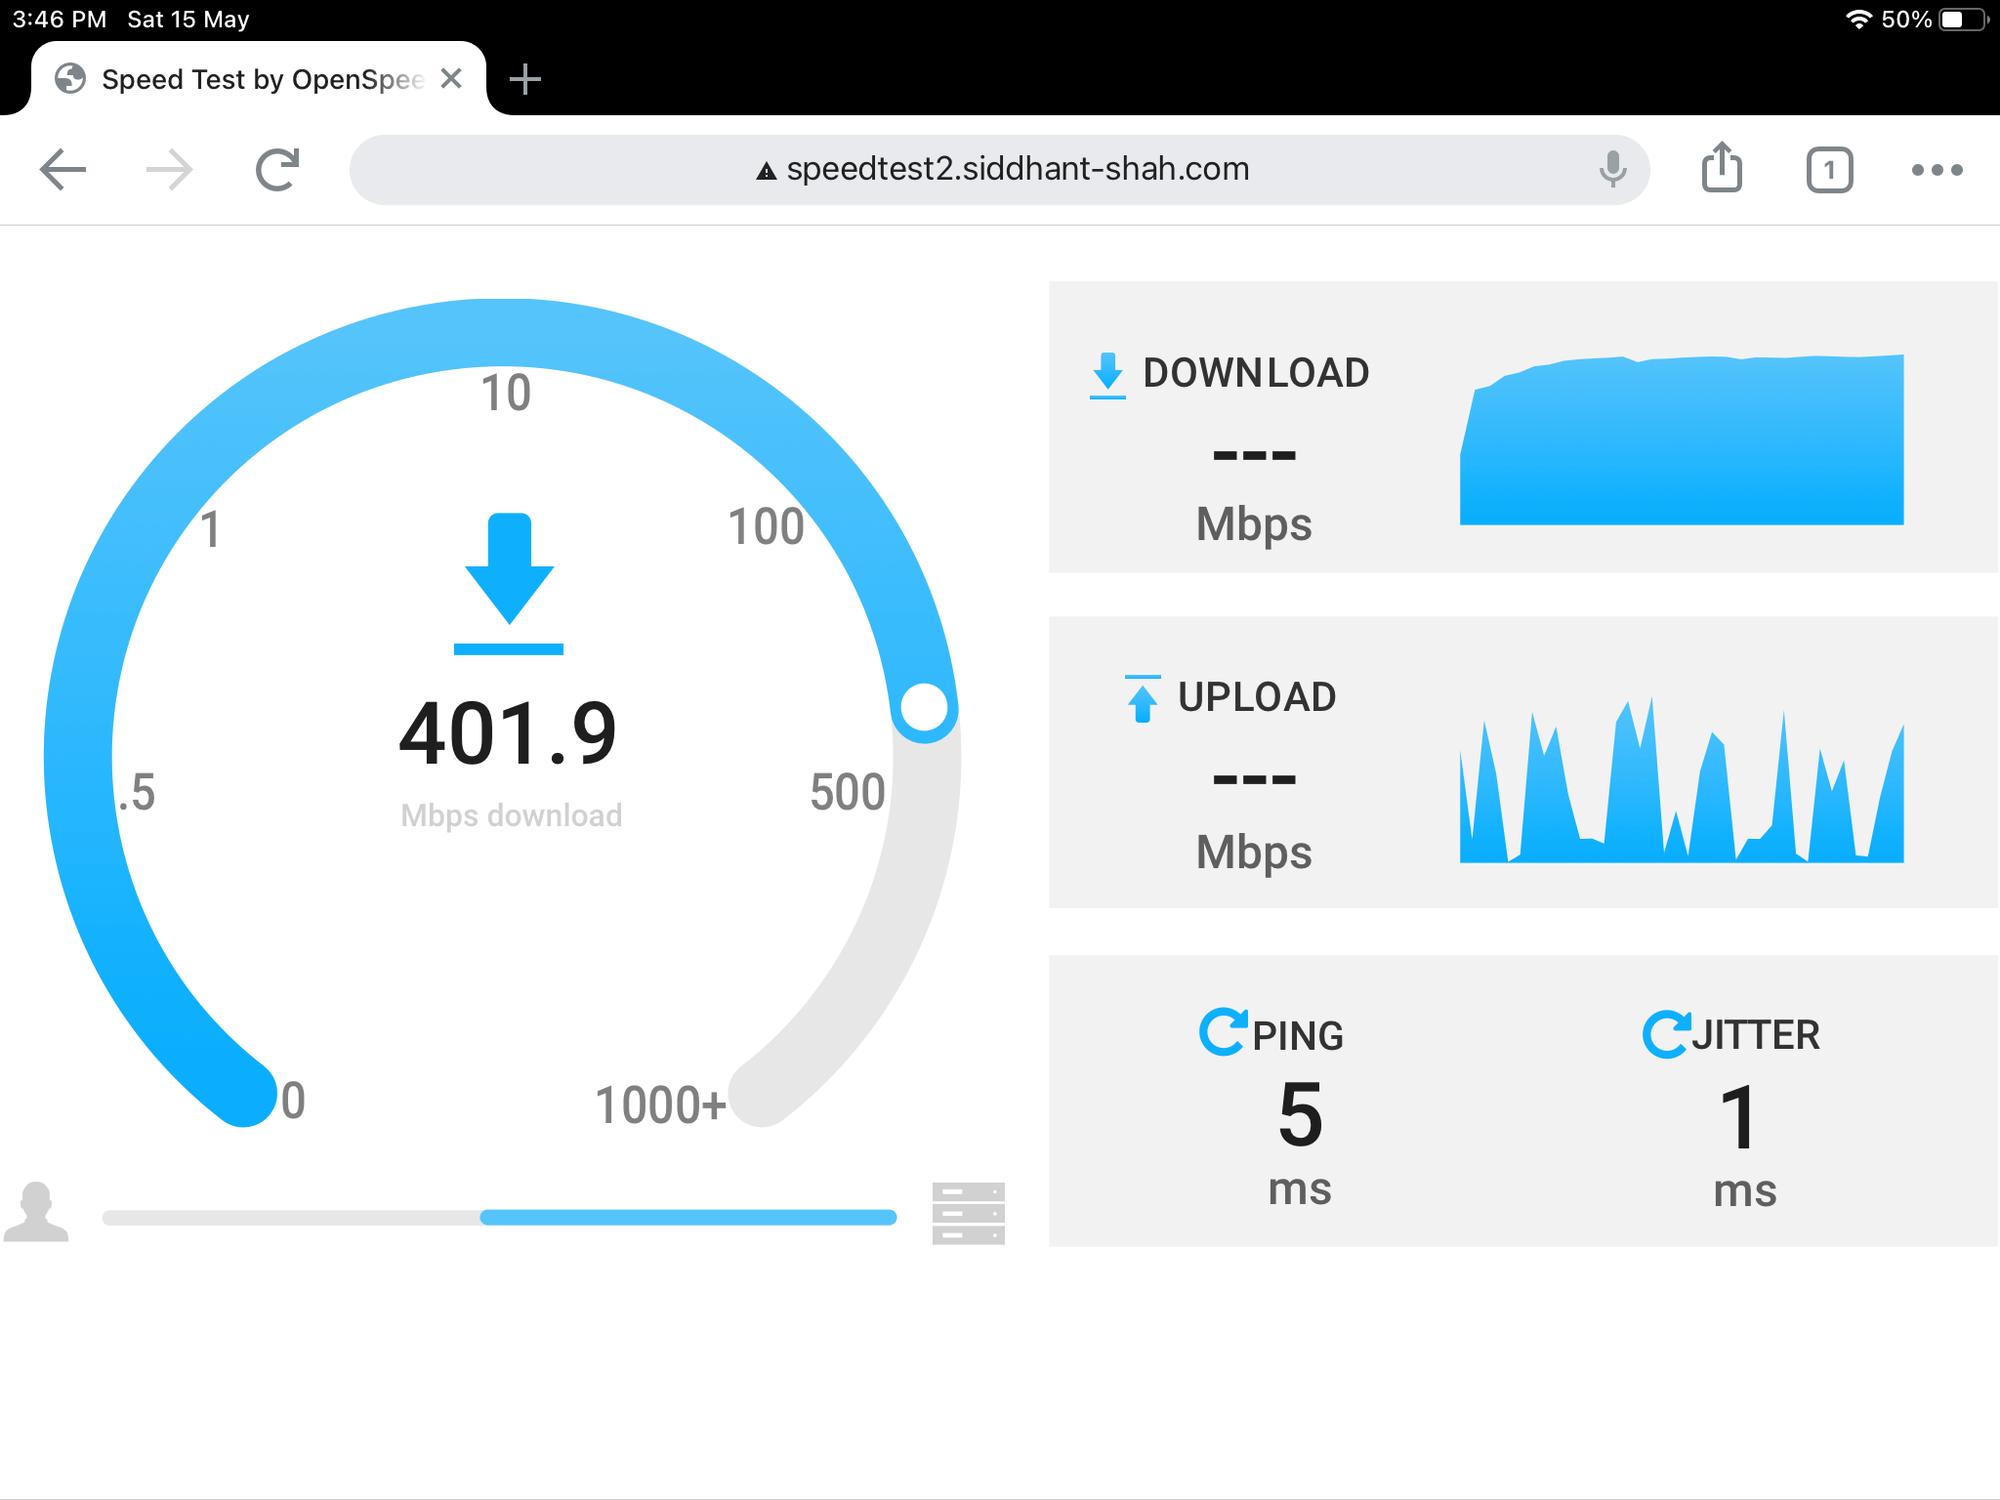
Happy Speed-Testing! 📶💻💨