
A console connection could be required to troubleshoot a misbehaving instance, to change BIOS settings, or even install a new OS using netboot.xyz
Though the Oracle Cloud panel gives an option to launch a Cloud Shell connection, it doesn’t load on my system with Chrome on Linux Mint. Alternatively, one can create a serial/VNC console connection using SSH. I detail how to create a serial console connection below.
The method is quite easy, but there’s a gotcha. Here are the steps:
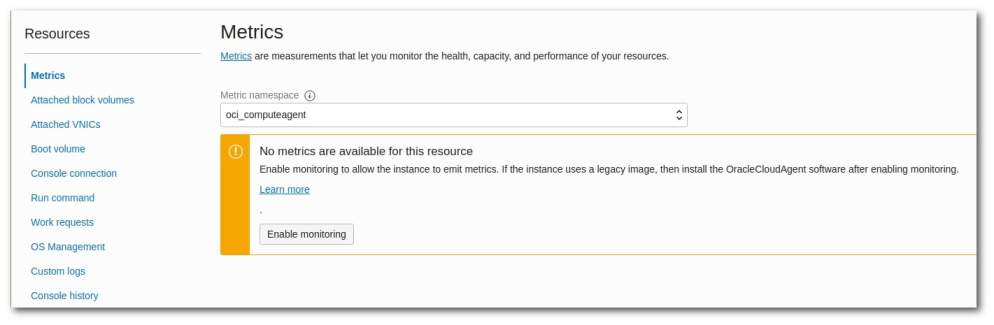
Go to the instance details:
Scroll to the bottom, under Resources, select Console Connection.
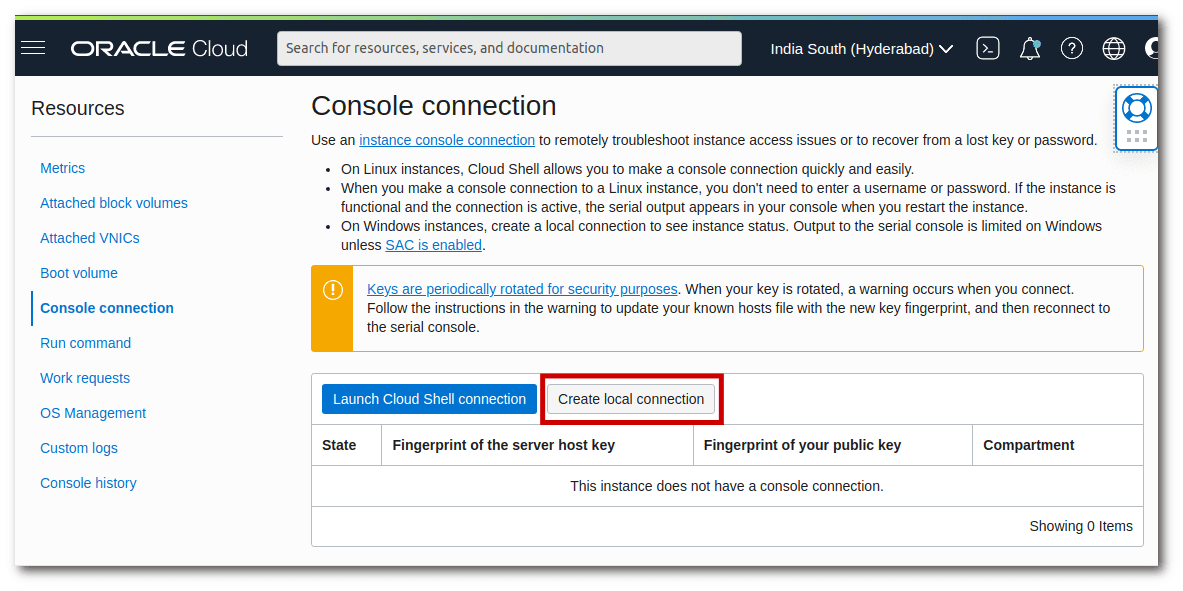
Create a local connection:
As I mentioned, the Cloud Shell connection wasn’t working for me. If it works for you, great! Please comment and let me know which OS + browser combo worked for you. For me, I select Create local connection.
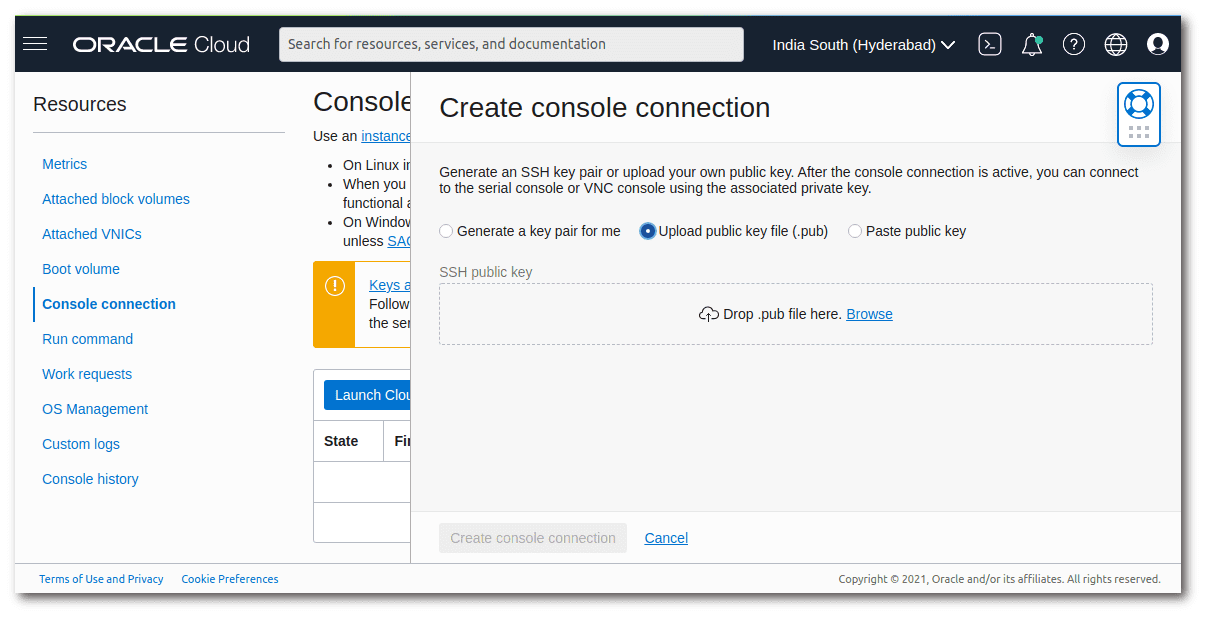
Create a key pair, or upload a public key for the connection:
I decided to use an existing public key that I have, and upload it.
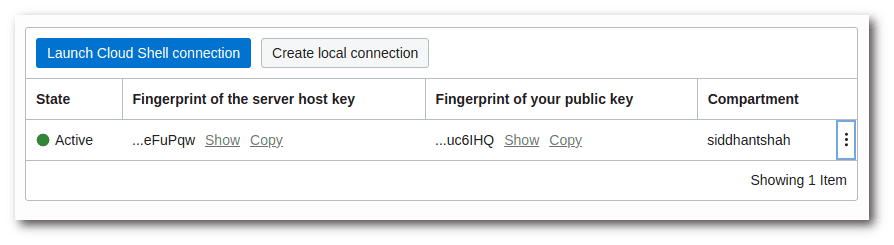
Wait for the connection to become active
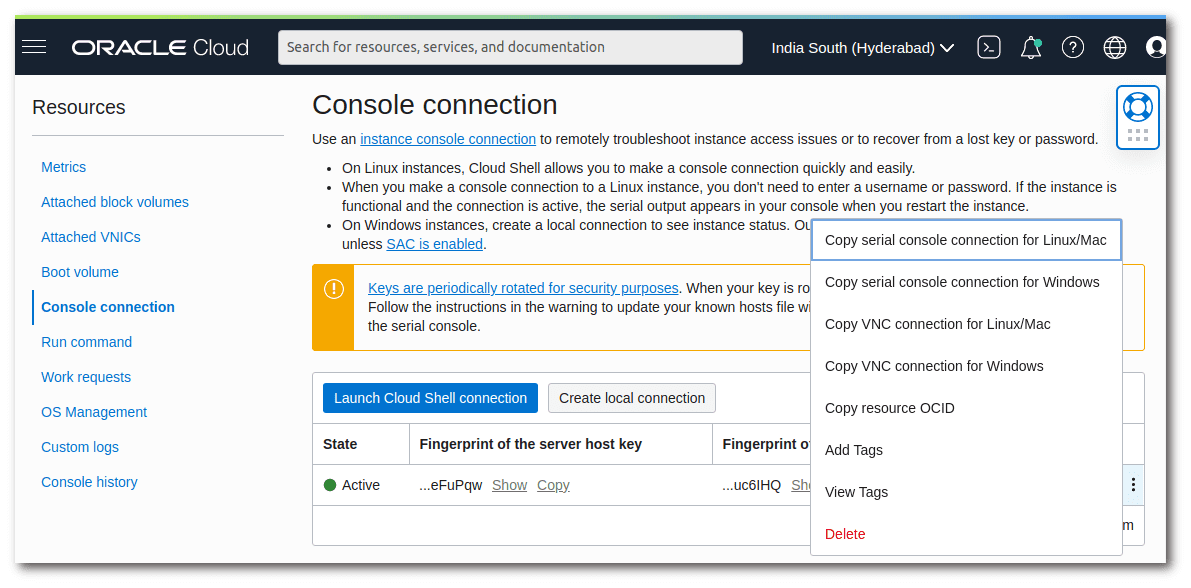
Shouldn’t take more than a few moments. Once active, click on the 3 dot menu to the right of the row.
Copy command for Serial Connection
Since I’m using Linux Mint, I’m going to copy the command for serial console connection for Linux/Mac.
The Gotcha
When you copy the command, it should look similar to:
ssh -o ProxyCommand='ssh -W %h:%p -p 443 ocid1.instanceconsoleconnection.oc1.ap-hyderabad-1.[instance details here]@instance-console.ap-hyderabad-1.oci.oraclecloud.com' ocid1.instance.oc1.ap-hyderabad-1.[instance details here]
If I simply copy paste the above command, I get the error:
console.ap-hyderabad-1.oci.oraclecloud.com: Permission denied (publickey). kex_exchange_identification: Connection closed by remote host
What is important here is to insert the -i option in the command at two places, 1. At the beginning, part of the initial ssh command2. Part of the ProxyCommand.
To avoid complicating by entering the full path of the public key, I just prefer to run the SSH command from within the directory having my public key.
So, the final command will be:
ssh -i public_key_here -o ProxyCommand='ssh -W %h:%p -p 443 -i public_key_here ocid1.instanceconsoleconnection.oc1.ap-hyderabad-1.[instance details here]@instance-console.ap-hyderabad-1.oci.oraclecloud.com' ocid1.instance.oc1.ap-hyderabad-1.[instance details here]
Where public_key_here is your public key file.
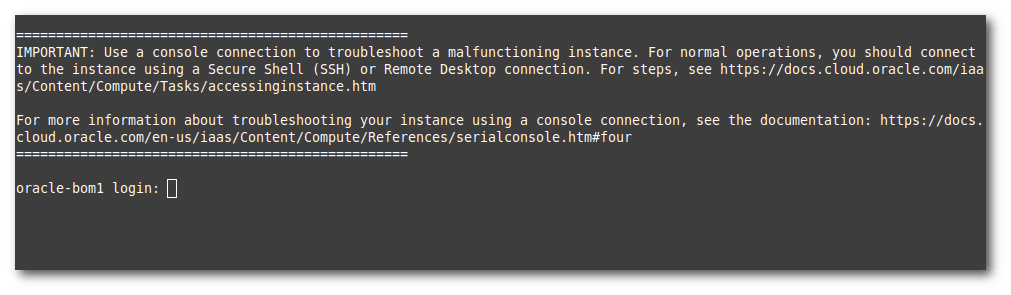
The first time you run the command, and all is fine, then you shall get the prompt to accept the connection identity using the yes/no/fingerprint option. Type in yes.
With the console connection established, you may have a blank screen. Just press Enter a couple of times, and you shall have your login prompt visible to you.
There you have it! Hope this was useful. I know it is useful for me, as I tend to forget this often, and now I can come back to this article! ✅